Making-of: The Crying Dress
This work will be completed as part of a quartier21 artist-in-residency during the Technosensual exhibition at the MuseumsQuartier in Vienna, Austria.
>> Project page
>> Hannah’s Flickr set
>> Mika’s Flickr set
>> YouTube playlist
>> Code repository
Summary
This “making-of” documentation shows the process of developing and making The Crying Dress during a one-month residency at the MuseumsQuartier in Vienna, Austria. Conception and planning of the work took place in the months prior to the residency. As did the tailoring of the dress pattern for the gown. The process of embroidering the circuitry started about half-way through and it took up most of the time. This process was tedious as well as enjoyable, and the weather in Vienna was amazing.

Making-of summary video
Materials and Tools
Materials
Karl Grimm conductive thread >> http://www.karl-grimm.com
Embroidery floss >> http://www.textil-mueller.at/
Silk fabric >> http://www.textil-mueller.at/
ATtiny85 microcontroller >>
TIP122 transistor >>
LDR >>
SMD LED white >>
850mAh lipo batteries >>
Shapelock >>
Black nail varnish >>
Magnets >> http://www.magnet-magnete.eu/ndfeb-magnete-zylinder-klein-g1-231.html
Tools
– Sewing machine
– Soldering iron(s)
– Scissors
– Pattern making paper
– Tracing paper
Final Touches
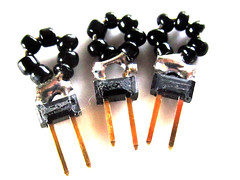
Making nice looking power jumpers to turn on the side and back circuit.

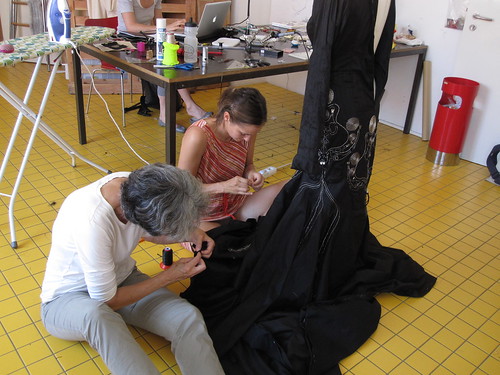
Hemming the gown.
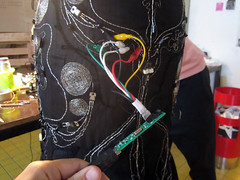
Loading the final program on the microcontrolers already soldered to the circuitry.
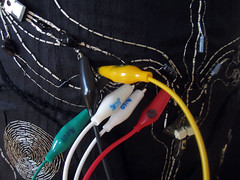
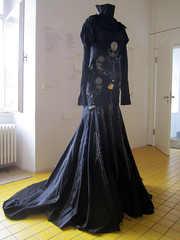
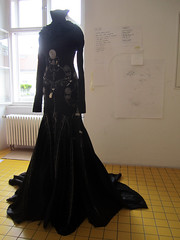
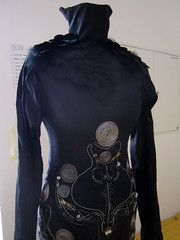
We finished the dress on the very last day of our residency.
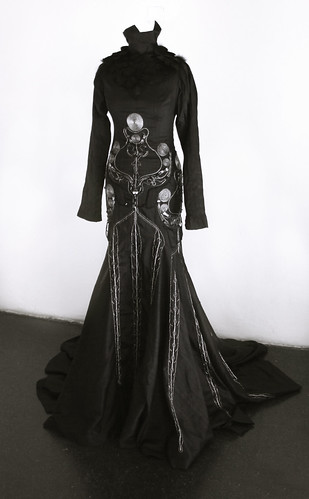
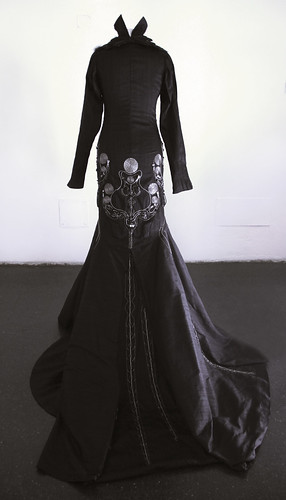
Power
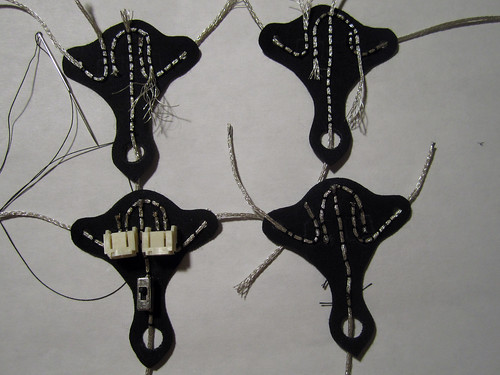
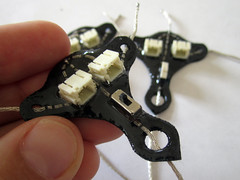
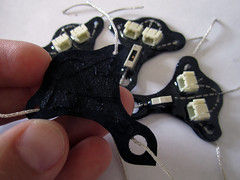
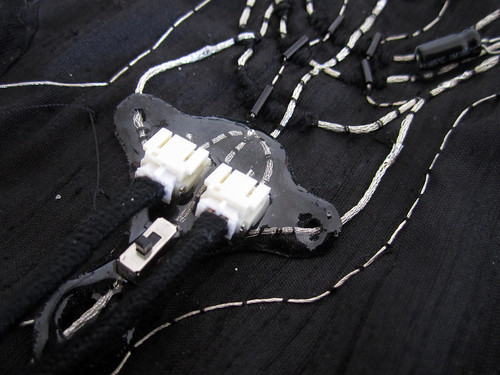
Progress…

ATtiny Arduino and Timer Interrupts
To control the speed of the timer and when the buffer overflows we can manipulte two values. The first is the prescaler value which we set by setting the following three bits:
In the ATtiny85 datasheet see page 93, Table 12-5 for how to change the value of the prescaler.
Second, we can set the timer counter to a value between 0-254. If we set it to 0 then the buffer starts at 0 and fills all the way to 254 before overflowing and triggering the interrupt. If we set it to a value then it will start at that value instead of starting at 0, so the buffer will fill faster and overflow quicker. Here is a calculation for all that:
* The following loads the value 131 into the Timer 2 counter register
* The math behind this is:
* (CPU frequency) / (prescaler value) = 15625 Hz = 64us.
* (desired period) / 64us = 8.
* MAX(uint8) – 8 = 248;
/* Save value globally for later reload in ISR */
tcnt0 = 120; // timer counter value between 0-154
Embroidery
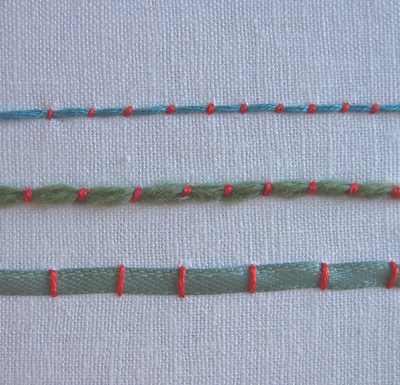
Some of the embroidery techniques we’ve looked at in the course of learning different embroidery stitches and using them to embroidery both the circuitry from conductive threads as well as decorative elements.
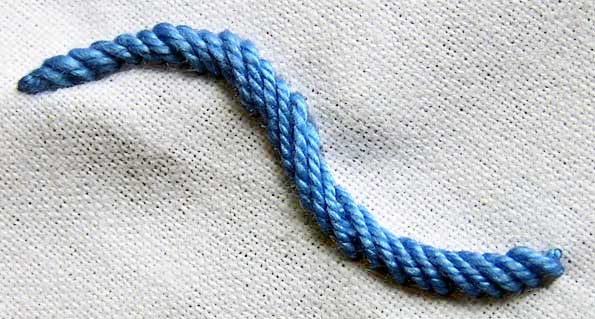
Rope Stitch
>> http://www.embroidery.rocksea.org/stitch/chain-stitch/rope-stitch/
>> http://www.needlenthread.com/2008/04/rope-stitch-hand-embroidery-video.html
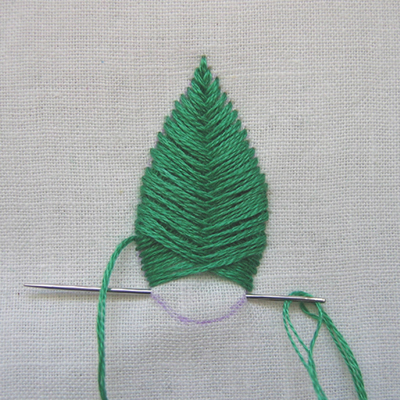
Raised Fishbone
>> http://stitchschool.blogspot.co.at/2010/03/tutorial-raised-fishbone-stitch.html
Couching
>> http://stitchschool.blogspot.co.at/2006/12/couching.html
Embroidering the Circuit
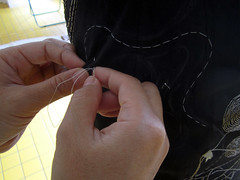
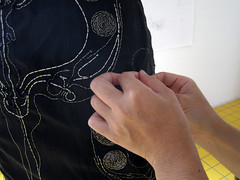
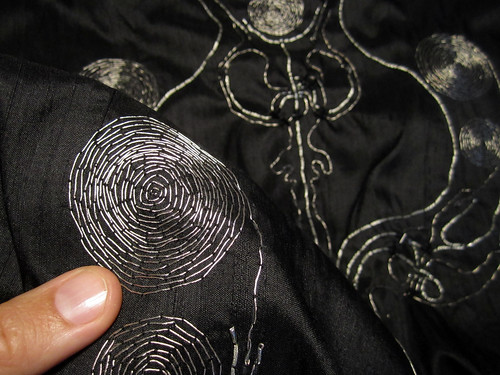
Close-ups:

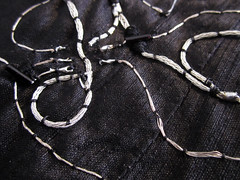

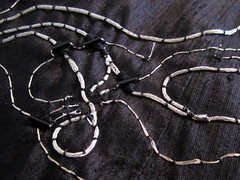
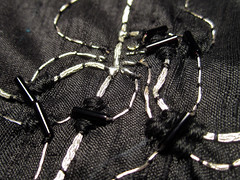
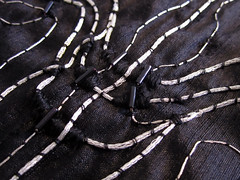
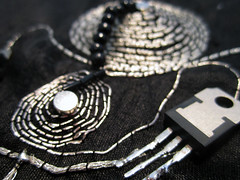

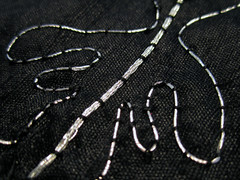
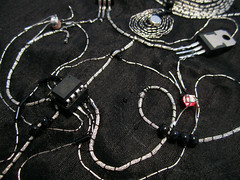
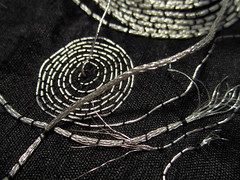
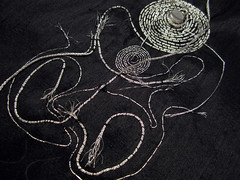
Soldering the ends of conductive threads to keep them from fraying:

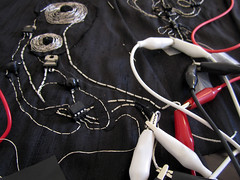
Cross-over LED-LDR module:
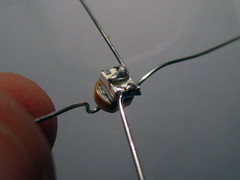
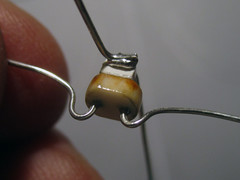
Opposite LED-LDR module:


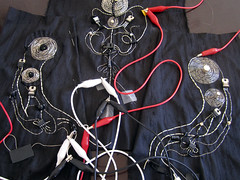
Sketching the pattern and sewing:

Testing the Embroidered Circuit
Basic circuit diagram:

Final test of final pattern before finalizing it. Final pattern is made up of three modules with one ATtiny microcontroller each. Each microcontrolelr reads one sensor input and outputs two different frequencies to to two seperate speakers, using two PWM LED lights to LDR volume controls.
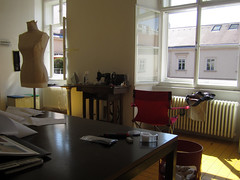
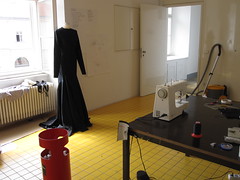
Studio Space

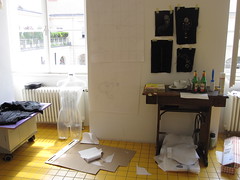
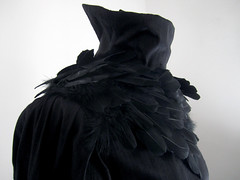
Making the Feather Shawl
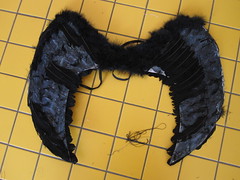
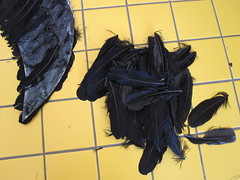

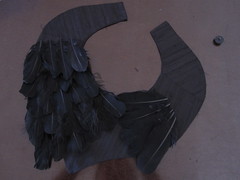

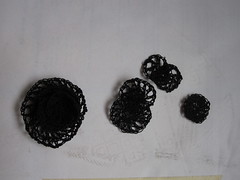
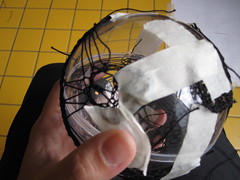
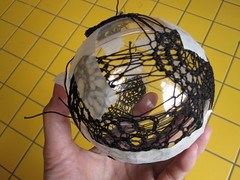
Making the Headpiece

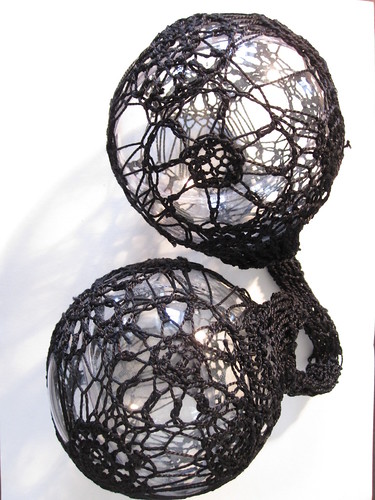

Embroidery Pattern Development

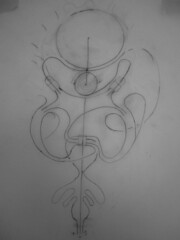
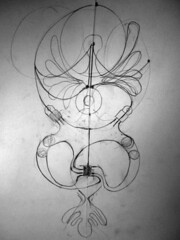


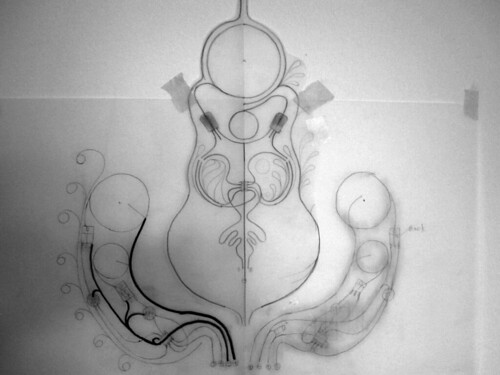
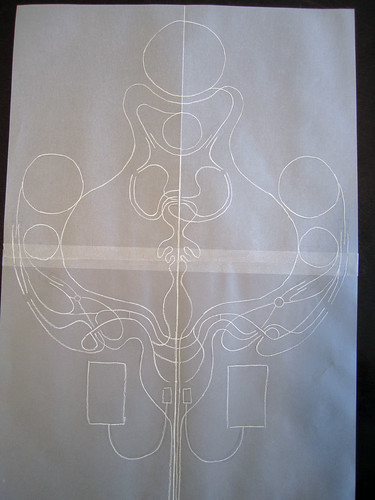
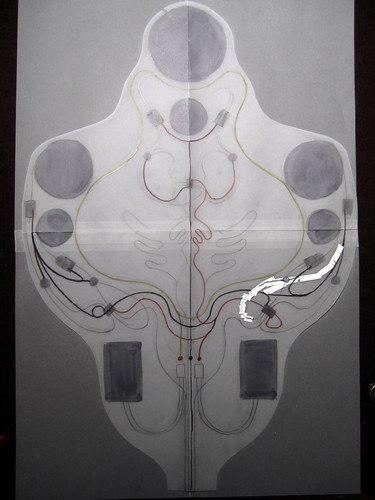
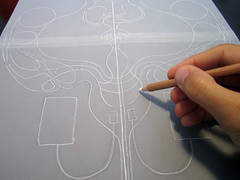
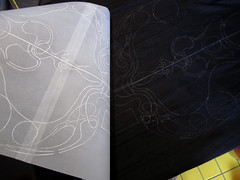
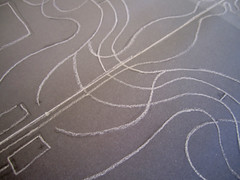
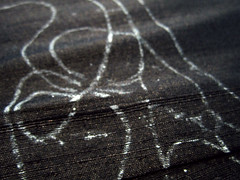
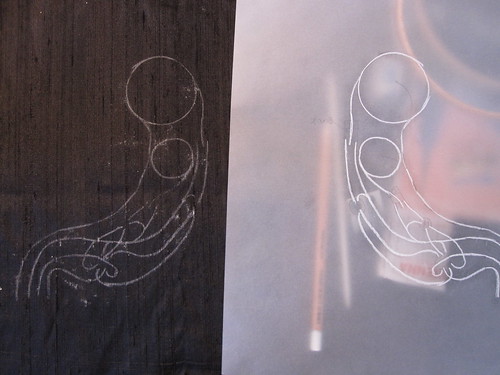
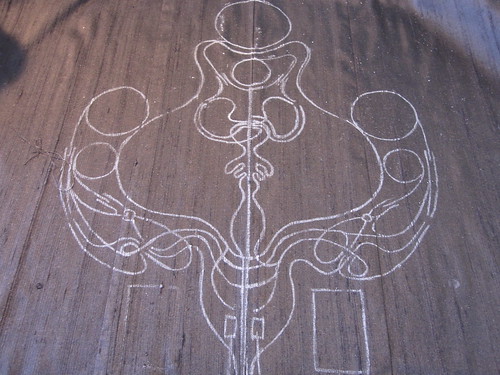
Transferring the pattern to the fabric with a chalk stencil:
Sensor Prototypes
Video
Speaker Prototypes
Video
Sound
Video of final sound:
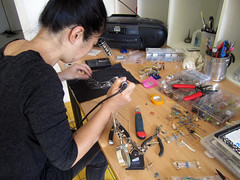
Electronics prototyping workspace:
LED-LDR volume control tests:

Three ATtinys playing different frequencies with LEDs and LDRs altering their volumes:
Super simple theramin >> http://translate.google.com/translate?u=http%3A%2F%2Flosaparatos.blogspot.com%2F2007%2F10%2Ftheremin_29.html&hl=en&ie=UTF-8&sl=es&tl=en

Understanding FM:
Frequency Modulation (FM) >> http://digitalmedia.oreilly.com/lpt/a/6547
Understanding musical terms:
>> http://en.wikipedia.org/wiki/Consonance_and_dissonance
DIGITAL
We know what we want. To have the dress generate a soundscape similar to “a chordal wash of detuned oscillator pairs” featured on the Mozzi Arduino library site >> http://sensorium.github.com/Mozzi/
Lara Grant’s fabric synths:
>> http://vimeo.com/41735339
Wavetable Synthesis
>> http://adrianfreed.com/content/arduino-sketch-high-frequency-precision-sine-wave-tone-sound-synthesis
>> http://learning.codasign.com/index.php?title=Wavetable_Synthesis
>> http://learning.codasign.com/index.php?title=Digital_to_Analogue_Conversion
Arduino and Sound information
Mozzi sound library >> http://sensorium.github.com/Mozzi/
sin wave synthesis by Adrian Freed >> http://adrianfreed.com/content/arduino-sketch-high-frequency-precision-sine-wave-tone-sound-synthesis
>> http://learning.codasign.com/index.php?title=Sound_and_Arduino
>> http://www.uchobby.com/index.php/2007/11/11/arduino-sound-part-1/
R2-R DAC
>> http://learning.codasign.com/index.php?title=Digital_to_Analogue_Conversion
ATtiny as synth:
TinySynth >> http://www.mikrocontroller.net/topic/191596
Looking to program ATtiny with C, to speed up PWM cycle
http://arduino.cc/en/Tutorial/SecretsOfArduinoPWM
From Arduino to C
>> http://urbanhonking.com/ideasfordozens/2009/05/18/an_tour_of_the_arduino_interna/
PWM volume control:
http://blipbox.org/blog/2011/05/23/arduino-squarewave-generation/
WOW! Wavetable synth on an ATtiny45
>> http://elm-chan.org/works/sd8p/report.html

ANALOG
555 Timer IC
Explains the pins on the 555 >> http://www.dummies.com/how-to/content/electronics-components-how-the-555-timer-chip-work.html
http://www.dummies.com/how-to/content/electronics-components-the-555-in-astable-oscillat.navId-810969.html
Drawdio
original Drawdio >> http://web.media.mit.edu/~silver/drawdio/make.php
Adafruit Drawdio design >> http://www.ladyada.net/make/drawdio/design.html
Adafruit Drawdio parts list >> http://www.ladyada.net/make/drawdio/parts.html
2 Transistor Multivibrator
>> http://www.circuitsgallery.com/2012/03/astable-multivibrator-using-transistors.html
Sine Waves
Listen to what sine waves sound like compared to square and triangle:
>> http://www.youtube.com/watch?v=wAaLxSyb350&feature=related
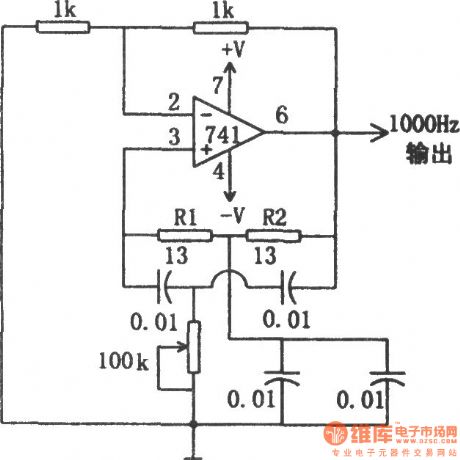
OpAmp LM741CN as sinewave generator
Using the circuit schematics bellow, i assembled the following circuit. I found the following values to work for me.
Frequency = 1 / ( 2 * PI * R * C)
PI = 3,14159265
R = 470K = 470,000
C = 0.1uF = 0.0000001F
Frequency = 1 / (2 * 3,14159265 * 470000 * 0.0000001) = 1 / 0.29531 = …?nope…
>> http://www.ecelab.com/circuit-sine-wave-gen.htm

Here is maybe interesting documentation on op amp sine wave generator >> http://www.ti.com/sc/docs/apps/msp/journal/aug2000/aug_07.pdf
Assembling the Final Dress
First, we assembled the liner of the dress. Here are some pictures of the progress.
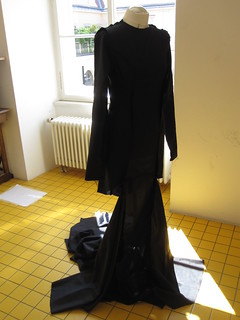
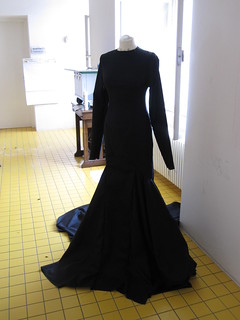

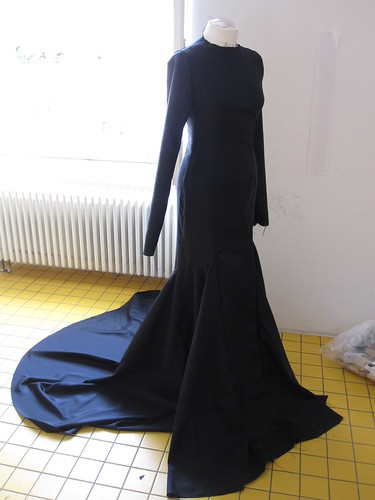
The outer layer assembly
First, we assembled front and back top panels and embroidered the pattern.. you do not want to know how long it took to embroider them.

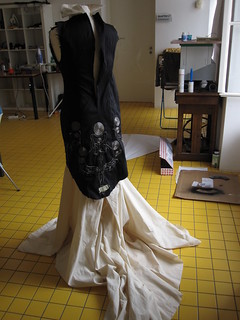
Then we connected the front and back pieces and applied the side embroidery pattern. The picture is the outer layer top with pinned sleeve on liner.
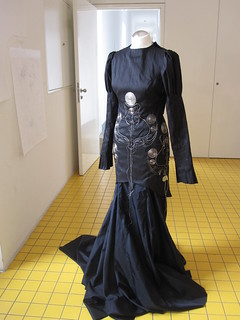
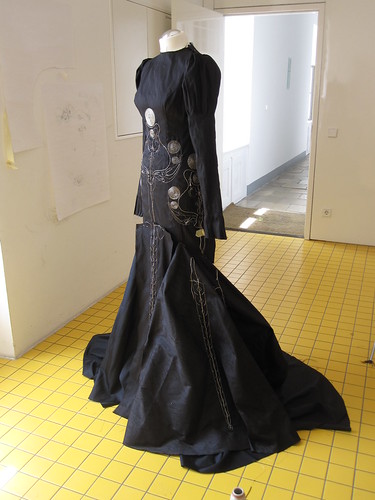
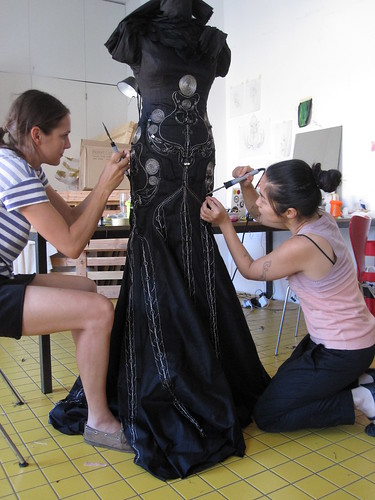
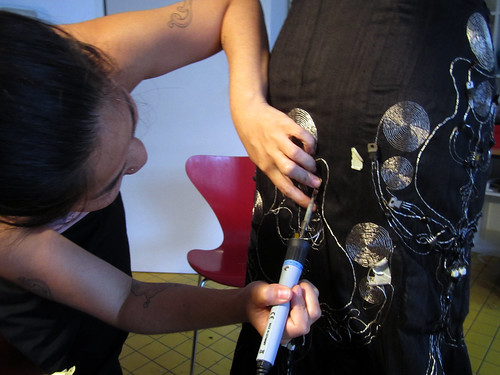
The below picture shows all the outer layer panels after embroidery. It was assembled at this point, then connected all the sensor connections from the pattern on the skirt to the top, then finally all the components were placed with soldering.
Dress Pattern Making
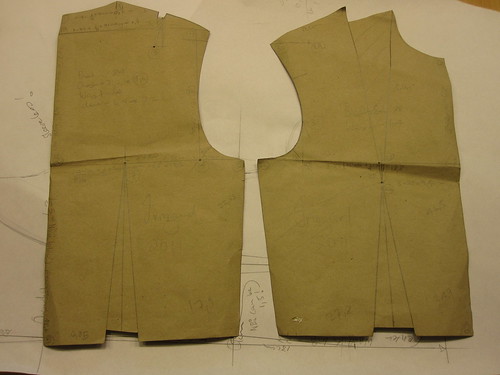
Prior to the residency, dress pattern was prepared at the Swedish School of Textiles with the help of Irmgard Mkhabla and Karin Schneider, Master students at the fashion department.
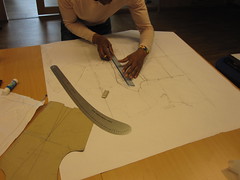
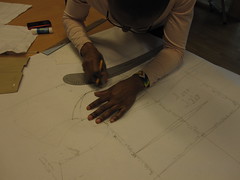
First, Irmgard showed me how to use the basic pattern and construct different cuts/styles. The style I chose for the crying dress is called “princess style” with two dart line going on the side vertically.
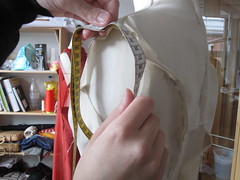
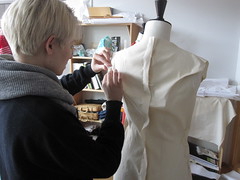
Then Karin helped me to trim the first pattern trial to fit to the body (we are using size 36 doll), alter the pattern to do the second pattern.. until you reach the perfect fit. It is quite amazing how many toiles (trial dress with white toile fabric) you make until you fix the final pattern.
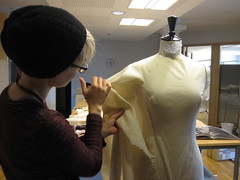
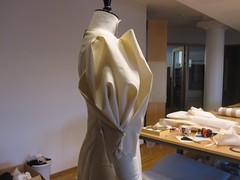
Karin also did a draping for sleeve pattern. You first drape (pin the fabric on a doll) and mark the pinned position, and reflect it back to the paper pattern so you can repeat it. This big whipped cream sleeve needs a really a lot of fabric!

The first sketch/image I made was this cut up photos of dresses put together. and the below image is the toile dress came out from working with them.
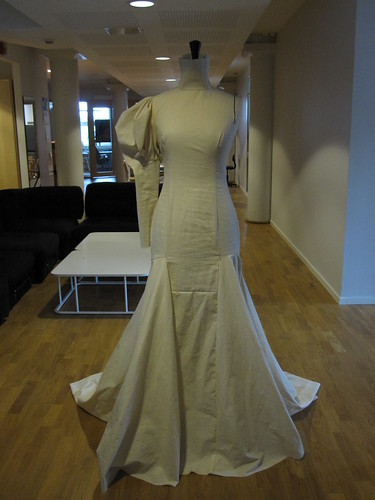
Thanks to Irmgard and Karin!
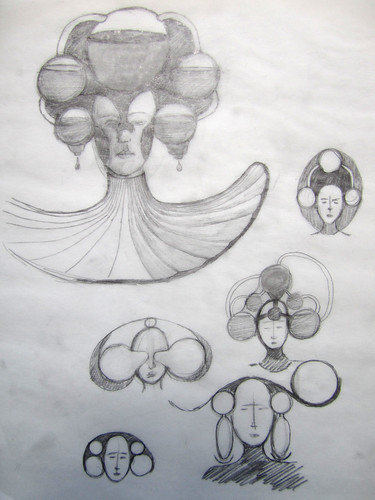
Sketches
Background
Words to describe grieving: mourn, wail, moan, bewail, bemoan, weep, deplore, complain, regret, grieve…
Keening is a form of vocal lament associated with mourning that is traditional in Scotland, Ireland, African, African-American, and other cultures.
>> http://en.wikipedia.org/wiki/Keening
Ululation is a long, wavering, high-pitched vocal sound resembling a howl with a trilling quality.
>> http://en.wikipedia.org/wiki/Ululation
Professional mourning or paid mourning, also called moirologists
>> http://en.wikipedia.org/wiki/Professional_mourning
Professional Mourners of Sardinia, from “Women of the World”
In Sardinia, a man’s worth in life can be determined by the number of women crying at his funeral.
>> http://www.youtube.com/watch?v=kJUQxelrZX4
North Koreans in Pyongyang mourn death of leader Kim Jong-il
>> http://www.youtube.com/watch?v=EfqP1VxVMMI


