Lulu textile connection
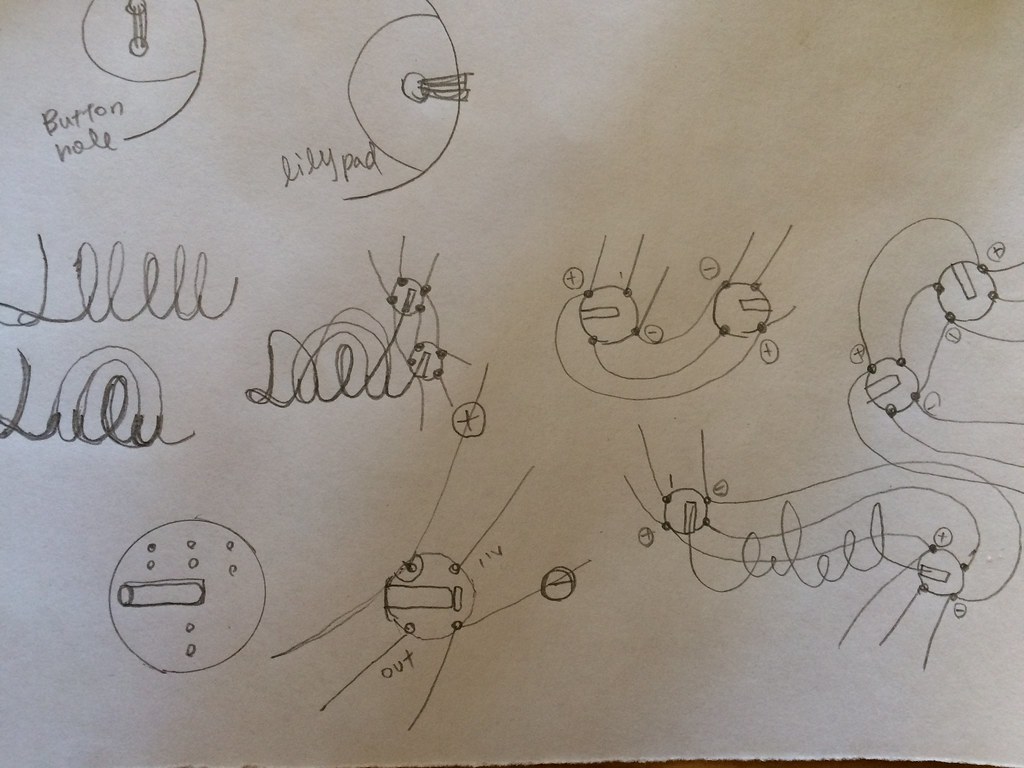
Experimenting how the Lulu board connection to textile could be. For now, I am using daisy chain design (power, data, GND) to base the experiments.
It looks like even the direction of the optic fiber change, one can maintain the 3 lines gong parallel and avoid crossing the line in most of the occasions.
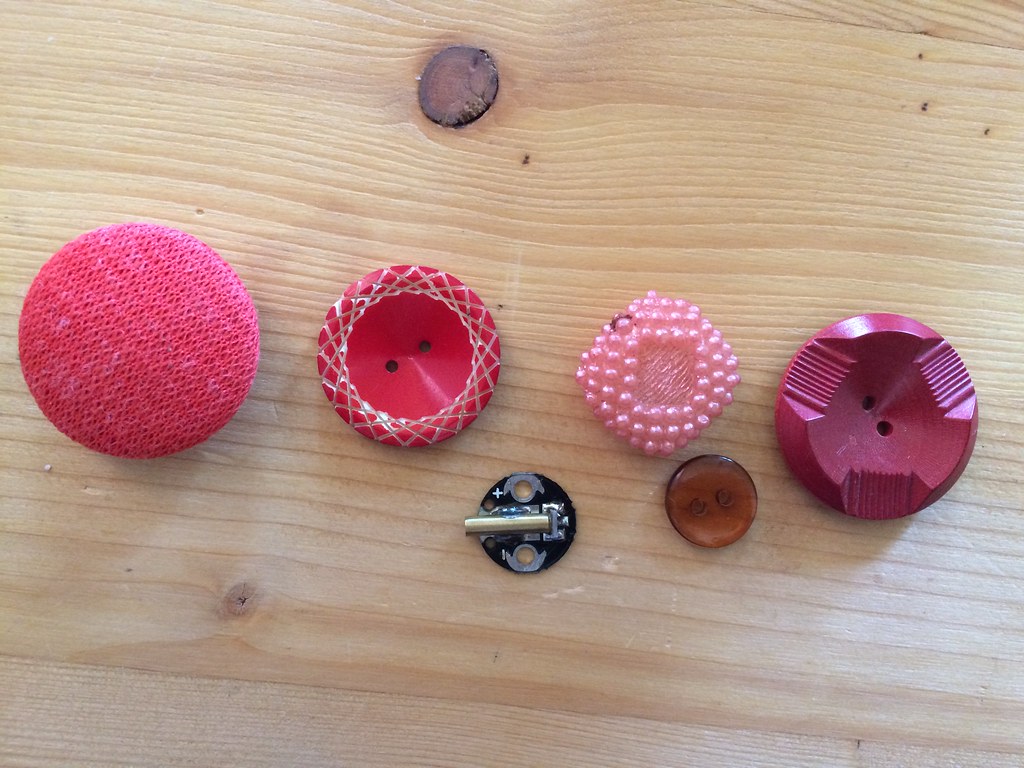
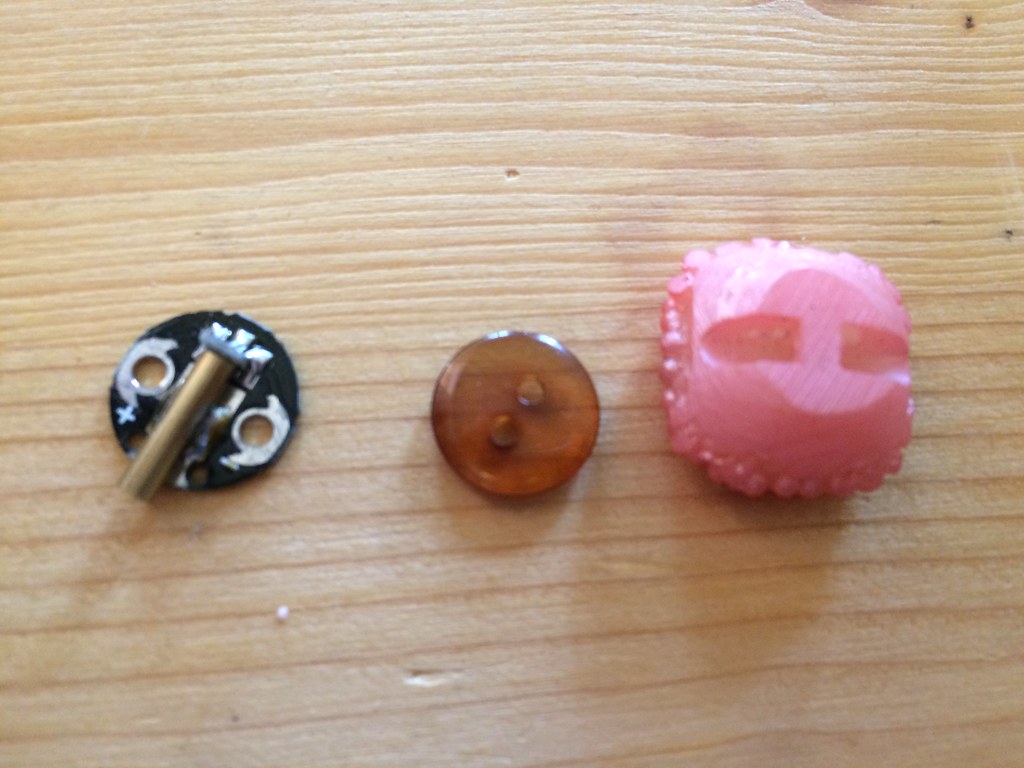
I am comparing them with the design of buttons. The original Lulu is 13mm diameter. As the brass tube is sticking out 2mm, I define the experiment design to be 15mm diameter. Many buttons for clothing items are much bigger and thicker. The holes to fasten the buttons could be 2 or 4. Some of them have slit on the bottom or ring on the bottom.
Here are some thoughts I had to start with.
robust connection
Hard-Soft connection is always the weak point of eTextiles. How can we get robust and reliable connection?
what will be a good design that works for users of different skills?
Less hand sewing work
If I imagine attaching many of them on garment, it is good if the hand sewing tasks are minimized.
should it be separable?
Do we need to separate them when in use? It could be separable design for washing, and discarding.
although it contains just LEDs and tubes and it is washable. So, maybe it does not need to be separated when being washed.
We should still think of the separability for end of use.
Connection material type
as we do not loose current for power connection, we will most probably need to use Karl Grimm copper thread or copper rip stop. So, I am concentrating looking at thread/sewing connection. It will be interesting to think about other type of fasting method like fusible interfacing.
TESTS
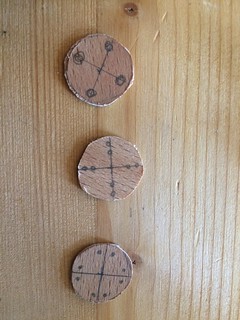
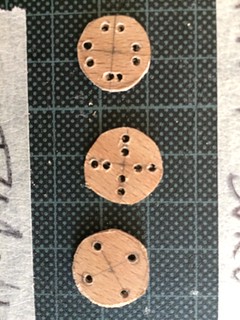
Different configuration of sewing hole on the button.
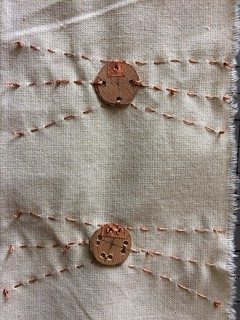
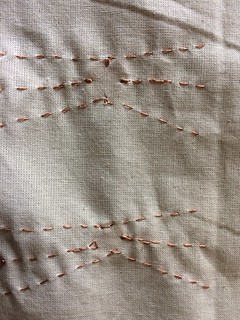
hand stitching test. Both types works well. 2 hole version feels a bit more robust.
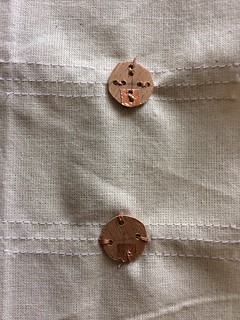
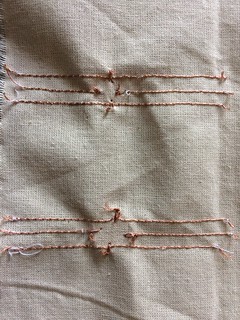
Sewing machine stitch. The side lines are added first and connected to holes with hand stitching with separate thread. The middle connection (data connection in/out) are stitched with sewing machine leaving long end and hand stitched using the same thread.
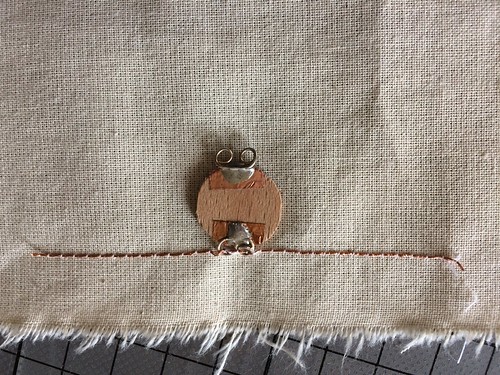
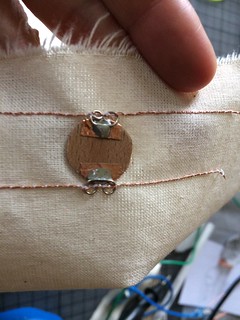
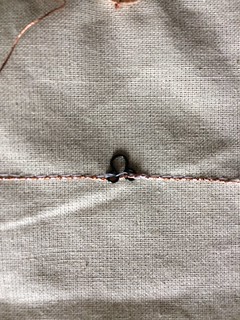
Inspired by hook for clothing, I have added loop hook on the board and sewn with the sewing machine. The nice thing is that one does not need to hand stitch at all, and the connection seems robust enough.
The downside is that one needs to stitch from the backside, and can not really see where the hole is. I sew this one by going very slow at the loop position, moving the needle manually.
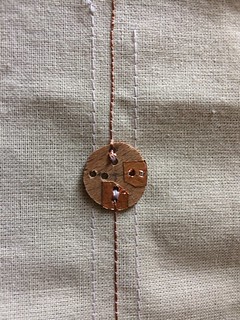
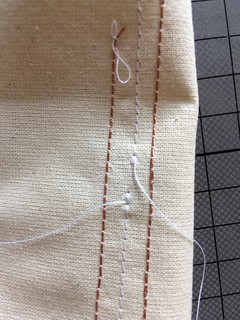
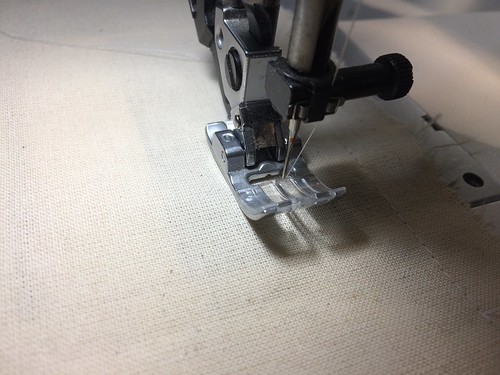
This is another try of sewing the 2 hole version button with sewing machine. The side connections are stitched from the front side first with 1cm a part, then button is fastened with the conductive thread to the side line. The middle data line is sewn from the back as conductive thread is set as a bobbin thread. Again, when you go very slow and manually move the needle at the hole position, it is possible to fasten with sewing machine.
It is still faster than hand stitch, but not ideal as it is very easy to miss the hole. Also, when LED and tube is mounted on the board, I am not sure if the foot of the sewing machine can go over the board from the back.
